Follow the steps below to create your own directory listing for your practice. There are a few things you’ll need to ensure before you can create your listing, so lets start with those. Keep in mind this directory is limited to qualified medical professionals who are duly licensed to practice in the state in which they conduct business. By listing your practice, you agree that you comply with this condition.
- First, you’ll need to register for a free account on the site. Click on My account in the menu above and select Signup from the dropdown menu. Complete the required fields and on completion you’ll be logged into your account.
- Even if you’re already signed up to the 1000 CLUB through Clinics IV Life, you still need to register here. Once you’re signed up and logged in, you’ll need to select a Subscription before you can list your practice. The steps below will guide you through that process.
Step 1
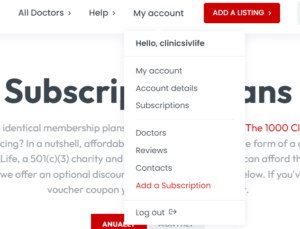
Head over to the Subscription Page here or select the page from the link in the My Account dropdown entitled Add a Subscription.
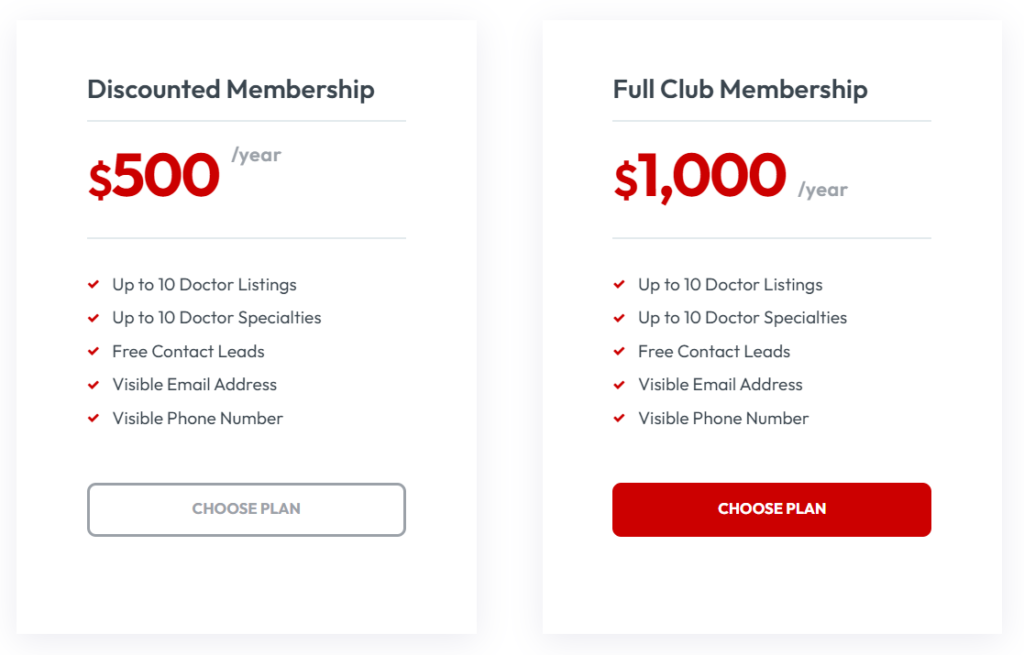
Select the subscription best suited to your budget. Remember this isn’t a profitable concern and your subscription fee is in fact a donation to Clinics IV Life, a 501(c)(3) charity and your donation is tax deductible to the full extent of the law. Both packages offer identical benefits, but if you can afford it, our charity and the patient communities we serve will benefit from the higher amount.
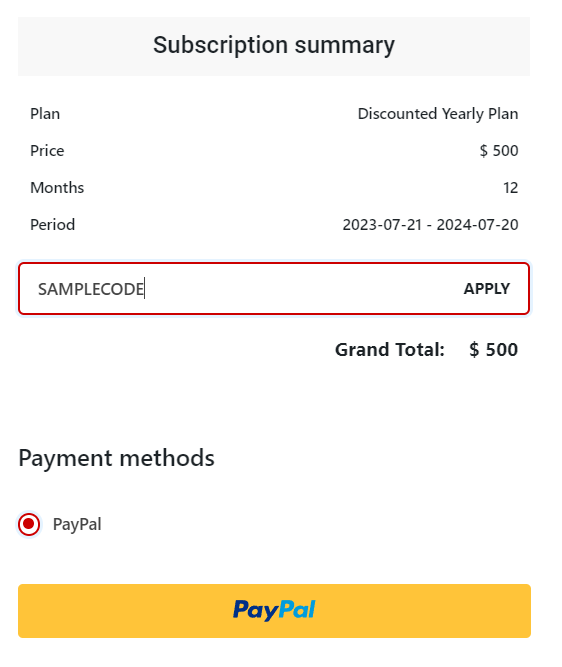
Once you’ve selected a subscription, you’ll be taken to a checkout page. Fill in all your details requested in the left hand column and check the amount you’re being asked to donate. It will show in the Subscription summary section on the right. Once your satisfied everything is right, hit the PayPal button and you’ll be redirected to PayPal’s secure server to complete your payment.
If you’re an existing 1000 CLUB member who signed up via the Clinics IV Life website, consult this article for applying your promotional code your received by email before completing payment.
Step 2
Once you’ve successfully paid, you’ll be taken to your Subscription Tab on your My account page and shown your subscription summary. You subscription will now show as Active, if it doesn’t, please get in touch with us at [email protected]

Now you’re ready to set up your listing. Keep in mind that under the 1000 CLUB membership, you can add up to ten listings, which means you can showcase all your doctors at your practice or clinic.
You’ll need a few bits of info before you start. Your practice email and main switchboard number (yes, we know, most doctors don’t know it) your practice address and links to your social media (Twitter, LinkedIn and Instagram) and practice website.
Once you’ve got all this information, click on the red ADD LISTING button in the main menu and you can start adding in your details.
The screenshot below shows what your page will look like and we’ll talk you through the required fields. Try not to leave out any information if you can help it.

Part 1 Contact Info
- Doctor title – add your title, eg; Dr, MD, DO
- Full Name – add your first and last name
- Email Address – best to use your practice email as we’ll forward patient messages to this email
- Phone Number – your main line or switchboard number, again best for patient contact
- Base Consultation Fee – give patients an idea of how much a basic consultation will cost
- Working Hours – please use the following format 9am to 5pm and Not Open for weekends if you’re closed.
Part 2: Services
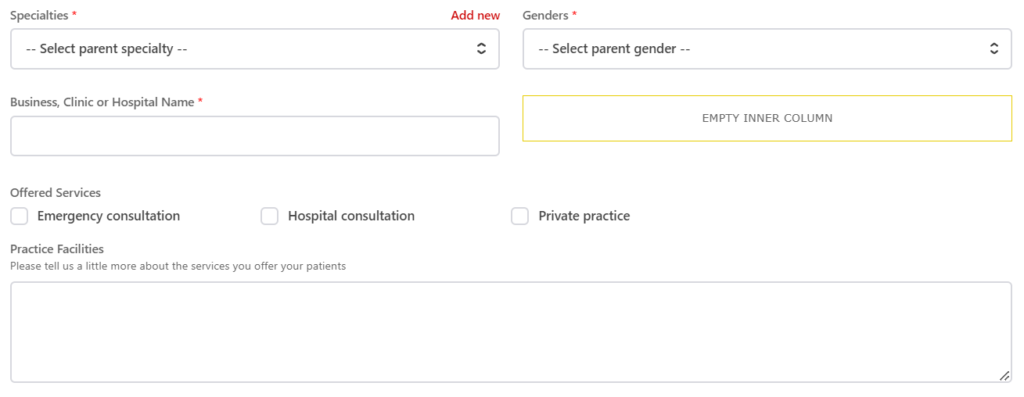
- Specialties – Select an option from the drop eg; OBGYN, if your specialty isn’t listed in the dropdown, click on the red Add New link on the top right of the field and create it.
- Gender – Tell your patients if you’re male or female. We ask this as some patients prefer seeing a male or female doctor.
- Business, Clinic or Hospital name – enter your registered practice name or hospital, group or clinic
- Offered Services – simply tick the appropriate check boxes
- Practice facilities – let your patients know what services you can offer them.
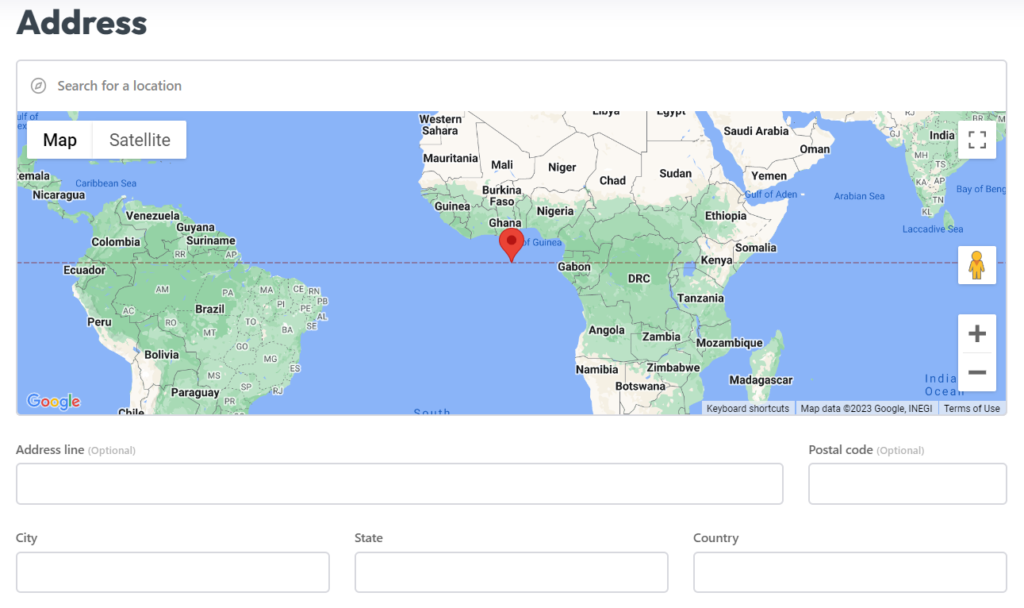
Part 3: Google Maps
This one is easy, but important. If you don’t add your address you wont show up in searches. Simply start typing your address into the Search for a location box and Goggle will find it and display an underlined link. Click on that address and it will automatically fill in your address fields in the boxes below the map. NB! You will need to redo this each time you need to edit your listing, or your address will be voided.

Part 4: Social and Images
- Profile Image – please add a headshot of yourself. Do not use AI rendered images.
- Cover Image – this is optional and covers the top of the page behind your photo.
- CV or Brochure – if you have a practice brochure, please upload it here.
- Social links – Please add any links you want shown on your profile
- Listing owner – Your details, relevant when you list multiple doctors in your practice
Well done, you’re finished. Hit the Submit button and wait for the page to confirm your listing has been created before navigating away from the page, it will take a few seconds.. If you’ve missed any required field, the form will scroll back up to that field. Correct the entry and submit the form again.
You can edit or view your listing and any others you create directly from your My Account settings, under the Doctor tab.


